A damaged network cable can cause connectivity problems, slow internet speeds, or complete network failure. If you’re experiencing frequent disconnections, cable issues, or inconsistent network performance, your Ethernet cable might be faulty due to wiring issues, bends, or physical damage.
This step-by-step guide will help you diagnose a damaged network cable, determine whether to repair or replace it, and ensure your connection remains stable.
Common Causes of Network Cable Damage

A network cable can become damaged due to:
- Physical wear and tear – Over time, cables can fray or break.
- Sharp bends or kinks – Bending cables at sharp angles can damage internal wires.
- Improper installation – Loose connections or pinched cables affect signal transmission.
- Rodent damage – Mice or pets may chew through cables.
- Electrical interference – Running Ethernet cables near power cables can cause signal degradation.
Now, let’s go through step-by-step troubleshooting to diagnose and fix cable issues.

Step 1: Check for Physical Damage
First, inspect the Ethernet cable for visible signs of damage:
- Look for cuts, frayed ends, or exposed wires.
- Check if the cable is bent or twisted near connectors.
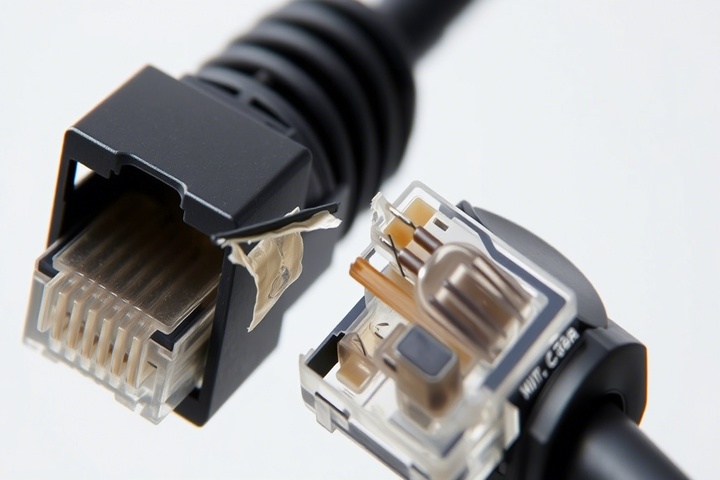
- Inspect the plastic RJ45 connectors—if they’re cracked or broken, the cable won’t function properly.
- If the cable is buried or running under furniture, check for pinched or crushed sections.
If visible damage is found, proceed to Step 3: Repair or Replace the Cable. Otherwise, continue to Step 2: Test the Cable Connection.
Step 2: Test the Ethernet Cable
Even if no visible damage is found, the cable may still be faulty.
Method 1: Swap the Cable
- Replace the suspect Ethernet cable with a new one.
- If the network works with the new cable, the original is likely damaged.
Method 2: Use a Cable Tester
- Connect both ends of the Ethernet cable to a network cable tester.
- If any of the LED lights fail to turn on, the cable has wiring issues.
Method 3: Use a Different Port or Device
- Plug the cable into a different network port (router, switch, or PC) to rule out port issues.
- If another device works fine with the same cable, the original device may be the problem.
If the cable fails any of these tests, proceed to Step 3.
Step 3: Repair or Replace the Damaged Network Cable
If the Ethernet cable is damaged, you can either repair it or replace it.
Option 1: Replace the Cable (Recommended for Severely Damaged Cables)
- Purchase a new Ethernet cable (preferably Cat5e, Cat6, or Cat7 for better performance).
- Ensure the length is sufficient without excessive slack.
- Connect the new cable and test the connection.
Option 2: Repair the Cable (For Minor Damage)
If the cable is slightly damaged, you can cut and reattach a new RJ45 connector:
Step 1: Cut the Damaged Section
- Use wire cutters to remove the damaged part.
Step 2: Strip the Cable Wires
- Strip about 1 inch of the cable sheath using a cable stripper.
- Inside, you will find four twisted pairs of wires (usually color-coded).
Step 3: Arrange the Wires in the Correct Order
- Use the T568B wiring standard (most common):
- Orange/White
- Orange
- Green/White
- Blue
- Blue/White
- Green
- Brown/White
- Brown
Step 4: Insert the Wires into an RJ45 Connector
- Slide the arranged wires into an RJ45 connector.
- Ensure the wires reach the end of the connector evenly.
Step 5: Crimp the Connector
- Use an RJ45 crimping tool to secure the connector.
- Once crimped, test the cable using a cable tester before reconnecting it to the network.
Step 4: Prevent Future Cable Damage
To extend the life of your Ethernet cables, follow these suitable practices:
✅ Avoid sharp bends – Keep cables loosely coiled to prevent kinking.
✅ Use cable protectors – Install plastic sleeves or conduit to shield cables.
✅ Keep cables away from electrical wires – This prevents signal interference.
✅ Label cables – Helps avoid accidental damage when unplugging or organizing.
✅ Use higher-quality cables – Invest in shielded Cat6 or Cat7 cables for durability.
Step 5: Check Router and Network Settings (If Issues Persist)
If replacing or repairing the damaged network cable doesn’t fix the issue, check your network settings:
- Restart your router and modem.
- Ensure the Ethernet port on your router is functional.
- Update your network drivers (for Windows: Device Manager > Network Adapters > Update Driver).
- Reset your network settings (Command Prompt: netsh int ip reset).
If the problem persists, the issue might be with your network hardware (router, switch, or network interface card).
When to Call for Professional IT Support
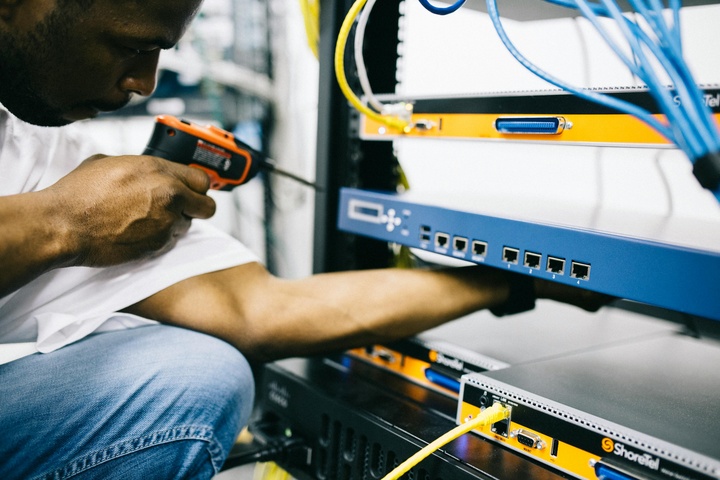
If you’ve tried all troubleshooting steps and still face cable issues, professional help may be needed.
- For home users: Contact your Internet Service Provider (ISP) for network diagnostics.
For businesses: Call an IT professional for network cable installation and maintenance.
Get Expert IT Support for Network Cable Issues

If you’re experiencing damaged network cables, Ethernet connectivity issues, or wiring problems, professional assistance can help restore your connection. TechNow offers IT Support Services in Germany, specializing in network troubleshooting, cable repairs, and structured cabling solutions. Contact us today for expert support!


