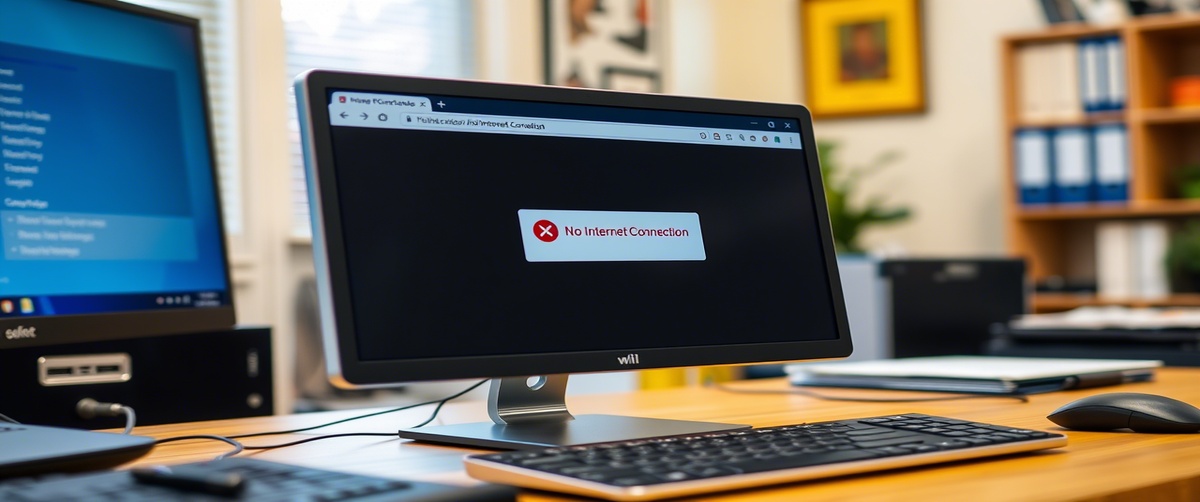
Applications, gaming servers, and remote access tools can all be rendered useless by port forwarding problems. Incorrect NAT settings or a mis configured port might cause connection difficulties whether your goal is to set up a security camera, host a game, or employ remote desktop access.
This article will walk you through methodically troubleshooting to correctly set gaming ports, modify NAT settings, and quickly fix port forwarding problems.
What Causes Port Forwarding Issues?

Before diving into fixes, let’s look at the most common reasons why port forwarding is not working:
- Bad port forwarding guidelines: The ports might not be assigned the proper internal IP address.
- Blocked ports by ISP: For security reasons some Internet Service Providers (ISPs) restrict particular ports.
- Firewalls could stop traffic from passing via the forwarded ports, therefore causing router firewall interference.
- Double NAT: One of your routers can be restricting the forwarding rules of another if you have more than one.
- UPnP conflicts: Should Universal Plug and Play (UPnP) be turned on, manual port forwarding settings may suffer.
Now, let’s go through step-by-step troubleshooting to fix port forwarding issues.

Step 1: Check Your Local IP Address
Before configuring port forwarding, ensure you are forwarding ports to the correct internal IP address:
For Windows:
- Open Command Prompt (Win R, type cmd, press Enter).
Type the following command and press Enter:
nginx
CopyEdit
ipconfig
- Look for IPv4 Address under your active connection. Example: 192.168.1.100.
For Mac:
Open Terminal and type:
nginx
CopyEdit
ipconfig getifaddr en0
- Note the internal IP address (e.g., 192.168.1.100).
You need to use this internal IP when configuring NAT settings for port forwarding in your router.
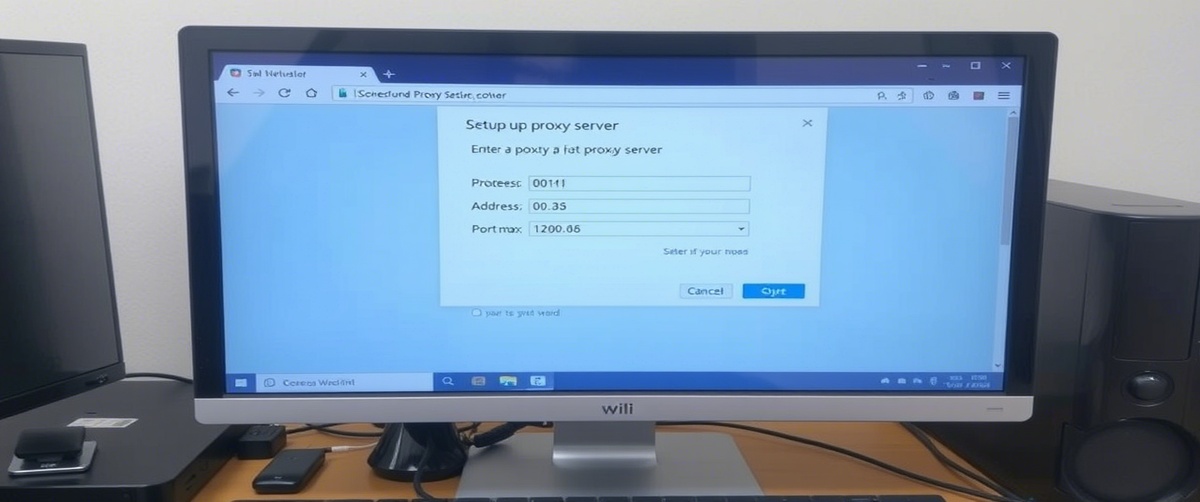
Step 2: Configure Port Forwarding in Your Router
Steps to Set Up Port Forwarding:
- Log in to your router’s admin panel (usually 192.168.1.1 or 192.168.0.1).
- Enter your admin credentials (default username/password can be found on the router label or manual).
- Navigate to Port Forwarding or NAT Settings in the router menu.
- Add a New Port Forwarding Rule with the following details:
- Internal IP Address: Enter the IP found in Step 1.
- Protocol: Choose TCP, UDP, or Both (check application requirements).
- External & Internal Port: Enter the port number required by your service.
- Description: Label it for easy identification (e.g., “Gaming Ports”).
If your port issue persists, move to the next step.
Step 3: Check for Double NAT Issues
If you have multiple routers (e.g., a modem and a separate Wi-Fi router), double NAT may be interfering with port forwarding.
How to Check for Double NAT:
- Log in to your main router’s settings.
- Look for an option called Bridge Mode or Passthrough Mode.
- Enable Bridge Mode to turn off the router’s NAT, allowing the modem to handle port forwarding.
If Bridge Mode is unavailable, you may need to manually configure DMZ (Demilitarized Zone) for your secondary router.
Step 4: Disable UPnP and Firewall Interference
Some routers have UPnP (Universal Plug and Play) enabled, which can conflict with manually forwarded ports.
To Disable UPnP:
- Go to Router Settings > Advanced Settings > UPnP.
- Disable UPnP and restart your router.
Additionally, check your router’s firewall settings:
- Lower firewall security levels if necessary.
- Temporarily disable router firewall to test if it’s blocking traffic.
Step 5: Verify Ports Are Open Using an Online Port Checker
After configuring port forwarding, test whether the ports are open:
- Visitcanyouseeme.org or Ping.eu Port Checker.
- Enter the port number you forwarded.
- Click Check Port.
If the port is open, your configuration is correct. If it’s still closed, move to the next step.
Step 6: Allow Ports in Windows Firewall
Even if ports are forwarded correctly in your router, Windows Firewall may be blocking them.
To Allow Ports in Windows Firewall:
- Open Control Panel > Windows Defender Firewall.
- Click Advanced Settings on the left panel.
- Select Inbound Rules > New Rule.
- Choose Port and click Next.
- Select TCP or UDP, enter the port number, and click Next.
- Select Allow the Connection and click Next.
- Name the rule (e.g., “Gaming Port Forwarding”) and click Finish.
Repeat the process under Outbound Rules if necessary.
Step 7: Contact Your ISP (Internet Service Provider)
If your port forwarding issues persist, your ISP may be blocking specific ports.
- Check if your ISP blocks certain ports (e.g., ISPs often block ports like 25, 80, or 443).
- Request a static public IP if your ISP assigns Carrier-Grade NAT (CGNAT), which prevents port forwarding.
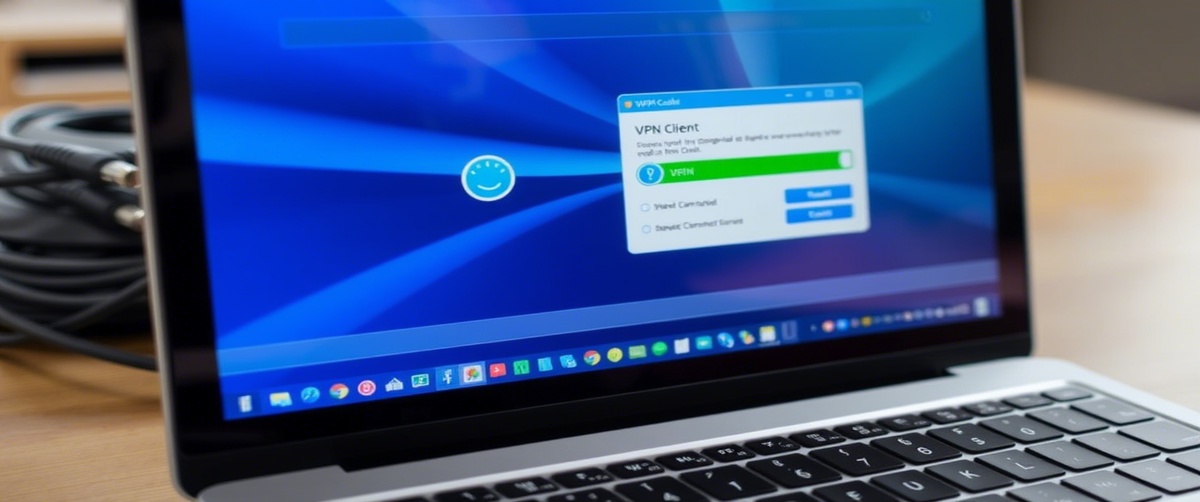
- Try using a VPN with port forwarding (some VPN services allow this feature).
Step 8: Use DMZ as a Last Resort
If port forwarding is not working, you can enable DMZ (Demilitarized Zone) for the device requiring access.
Caution: DMZ exposes your device to the internet, making it vulnerable. Use it only if necessary.
To Enable DMZ:
- Log in to your router settings.
- Navigate to Advanced > DMZ.
- Enter your device’s local IP address (from Step 1).
- Enable DMZ and save changes.
This should allow unrestricted access to all ports for that device.
Get Expert IT Support for Port Forwarding Issues

If you’re still struggling with port forwarding issues, professional assistance can help optimize your NAT settings, gaming ports, and network configuration. TechNow offers IT Support Services in Germany, providing expert troubleshooting and security solutions. Contact us today to ensure your network is set up correctly!