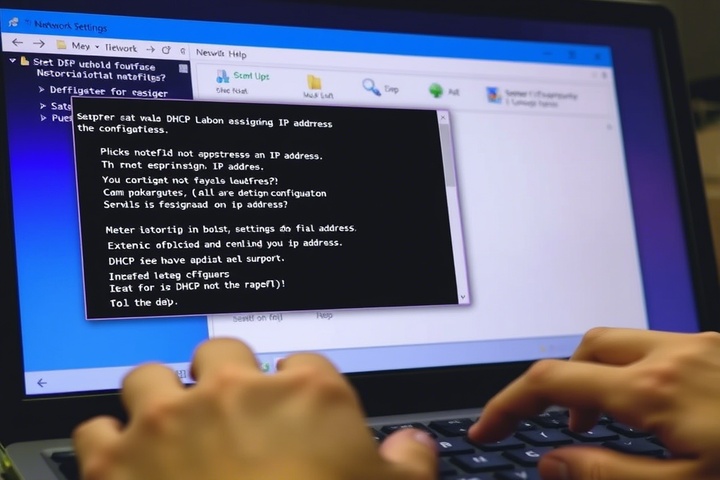
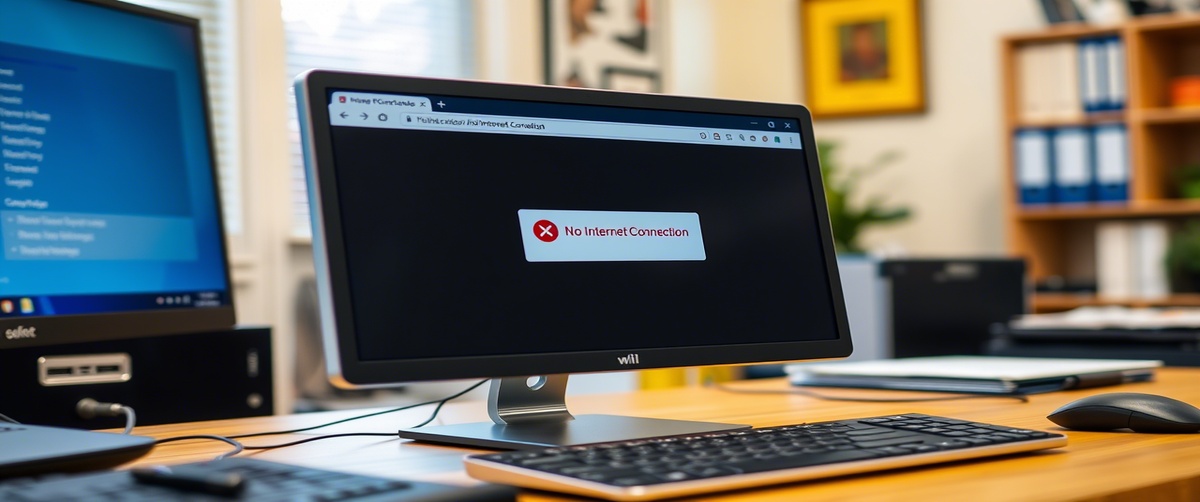
If your DHCP server is not assigning an IP, devices on your network may fail to connect to the internet or communicate with other devices. A DHCP issue can prevent automatic IP assignment, suitable to network disruptions. Without an IP lease, your device won’t be able to communicate with the router, requiring manual IP configuration or troubleshooting.
In this step-by-step guide, we’ll help you diagnose and fix DHCP server issues and restore automatic IP assignment.
What Causes a DHCP Server Not Assigning IP?

A DHCP issue occurs when a device requests an IP address from the DHCP server (usually your router), but it fails to assign one. Common causes include:
- DHCP service is disabled – If the DHCP server is turned off, devices won’t receive IP addresses.
- IP lease pool is full – The router has run out of available IP addresses.
- Network misconfiguration – Incorrect router settings prevent IP assignment.
- Faulty DHCP server – The router’s DHCP service may be malfunctioning.
- Firewall or security settings – Overly strict security settings may block DHCP requests.
Now, let’s go through step-by-step troubleshooting to fix DHCP server not assigning IP errors.

Step 1: Restart Your Router and Modem
Before making any changes, try restarting your network devices:
- Turn off your router and modem.
- Unplug both devices for 30 seconds.
- Restart your computer or device.
- Turn the modem and router back on and wait for the network to reconnect.
If your DHCP issue persists, move to Step 2.
Step 2: Check If DHCP Is Enabled on Your Router
If DHCP is disabled, devices must be manually configured to connect.
How to Enable DHCP in Your Router:
- Log in to your router settings (192.168.1.1 or 192.168.0.1).
- Enter the admin username and password (usually on the router label).
- Navigate to LAN Settings or DHCP Settings.
- Ensure DHCP Server is enabled.
- Check the IP address range (e.g., 192.168.1.100 to 192.168.1.200).
- Save changes and restart the router.
If DHCP was disabled, enabling it should resolve the issue. If not, continue to Step 3.
Step 3: Release and Renew IP Address on Your Device
If a device is stuck with an expired or incorrect IP lease, manually renewing it may help.
For Windows:
- Open Command Prompt (Win R, type cmd, press Enter).
Type the following command and press Enter:
bash
CopyEdit
ipconfig /release
ipconfig /renew
- Restart your computer and check if the network connects.
For Mac:
- Open System Preferences > Network.
- Select your active connection and click Advanced.
- Go to the TCP/IP tab and click Renew DHCP Lease.
If your device still doesn’t receive an IP, proceed to Step 4.
Step 4: Manually Assign an IP Address
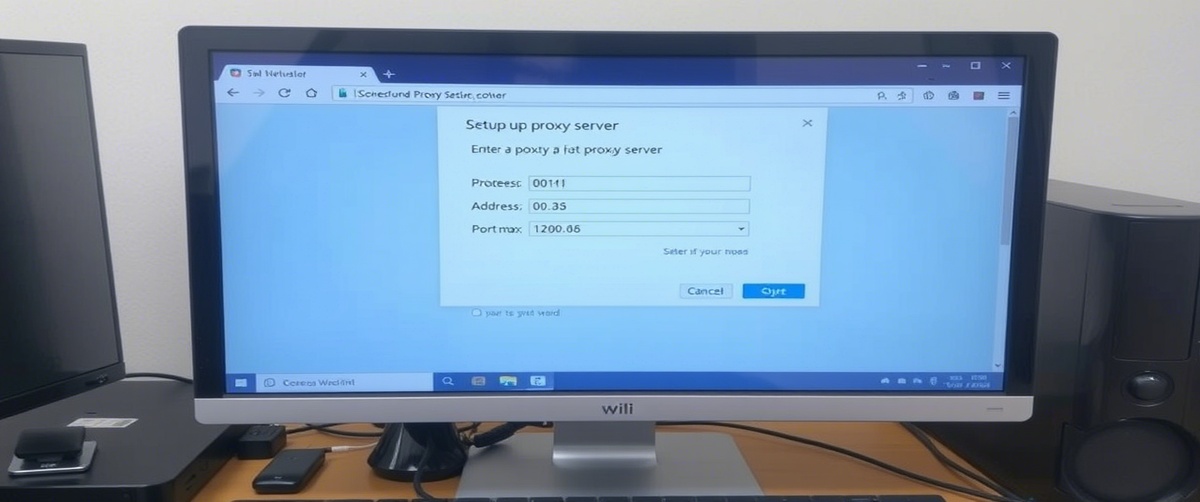
If DHCP isn’t working, you can use manual IP configuration as a temporary solution.
For Windows:
- Open Control Panel > Network and Internet > Network Connections.
- Right-click your active connection and select Properties.
- Select Internet Protocol Version 4 (TCP/IPv4) and click Properties.
- Choose Use the following IP address and enter:
- IP address:192.168.1.150 (change last number if needed)
- Subnet mask:255.255.255.0
- Default gateway:192.168.1.1 (your router’s IP)
For Mac:
- Open System Preferences > Network.
- Select your network and click Advanced.
- Under TCP/IP, choose Manually and enter:
- IP address:192.168.1.150
- Subnet mask:255.255.255.0
- Router:192.168.1.1
If manual IP assignment works but DHCP still doesn’t, move to Step 5.
Step 5: Check IP Lease Pool in Router Settings
If your IP lease pool is full, new devices won’t receive IP addresses.
How to Expand the DHCP Lease Pool:
- Log in to your router settings.
- Go to DHCP Settings.
- Check the Starting and Ending IP Range (e.g., 192.168.1.100 to 192.168.1.200).
- If necessary, increase the range (e.g., 192.168.1.50 to 192.168.1.250).
- Save changes and restart the router.
Expanding the DHCP range allows more devices to connect. If this doesn’t work, proceed to Step 6.
Step 6: Disable Static IP Conflicts
If another device is using the same IP address as the DHCP server, conflicts may occur.
How to Check for IP Conflicts:
Open Command Prompt and type:
css
CopyEdit
arp -a
- Look for duplicate IP addresses in the list.
- If you see duplicate IPs, restart the conflicting devices or assign a different static IP (see Step 4).
Removing conflicting IPs can help DHCP work properly. If DHCP is still failing, move to Step 7.
Step 7: Update Router Firmware
Outdated firmware can cause DHCP issues and other network errors.
How to Update Your Router Firmware:
- Log in to your router settings.
- Navigate to Advanced > Firmware Update.
- If an update is available, install it and restart the router.
Keeping your router updated ensures stable network performance.
Step 8: Reset Router to Factory Defaults
If none of the above steps work, resetting the router may fix DHCP assignment issues.
How to Factory Reset Your Router:
- Locate the reset button on the back of your router.
- Press and hold it for 10-15 seconds using a paperclip.
- Release the button and wait for the router to reboot.
- Reconfigure your network settings, ensuring DHCP is enabled.
A factory reset removes all custom settings, so you may need to set up Wi-Fi passwords and DHCP ranges again.
Step 9: Contact Your ISP or IT Support
If DHCP is still not assigning IPs, your ISP or IT department may need to assist.
- For home networks, contact your Internet Service Provider (ISP) and report the issue.
- For business or school networks, reach out to IT support for further troubleshooting.
Some ISPs disable DHCP on certain routers, requiring manual configuration.
Get Expert IT Support for DHCP and IP Assignment Issues

If you’re still experiencing DHCP server not assigning IP, IP lease failures, or manual IP configuration problems, professional assistance can help. TechNow offers IT Support Services in Germany, specializing in DHCP troubleshooting, IP management, and network stability solutions. Contact us today for fast and reliable network support!


