If you’re seeing the dreaded “DNS server not responding” error, it means your computer isn’t able to connect to a Domain Name System (DNS) server. This can cause websites to fail to load, even if your internet connection appears to be working fine.
Don’t worry—this guide will walk you through step-by-step troubleshooting to resolve this DNS issue, fix name resolution problems, and clear your DNS cache for a smoother browsing experience.
What Causes a DNS Server Not Responding Error?

Before we dive into fixes, let’s understand why a DNS issue occurs:
- Incorrect DNS settings – Your computer might be using an unresponsive DNS server.
- DNS cache corruption – A corrupted DNS cache can prevent websites from resolving.
- ISP-related issues – Your Internet Service Provider (ISP) may be experiencing DNS failures.
- Firewall or antivirus interference – Security software might be blocking DNS connections.
- Router problems – A misconfigured router can cause name resolution failures.
Now, let’s go through step-by-step troubleshooting to fix your DNS server not responding error.

Step 1: Restart Your Router and Computer
The first and easiest fix is restarting your router and computer. This can refresh your network settings and resolve minor DNS issues.
- Turn off your router and modem.
- Unplug them from power for about 30 seconds.
- Restart your computer.
- Turn your router and modem back on, then check if the problem is resolved.
If your DNS server is still not responding, move on to the next step.
Step 2: Flush the DNS Cache
A corrupted DNS cache can cause connectivity issues. To clear it:
For Windows:
- Open Command Prompt as Administrator.
Type the following command and press Enter:
bash
CopyEdit
ipconfig /flushdns
- Once completed, restart your browser and try accessing a website.
For Mac:
- Open Terminal.
Type the following command and press Enter:
nginx
CopyEdit
sudo dscacheutil -flushcache; sudo killall -HUP mDNSResponder
- Enter your password if prompted and restart your computer.
This clears outdated DNS records and can fix name resolution issues.
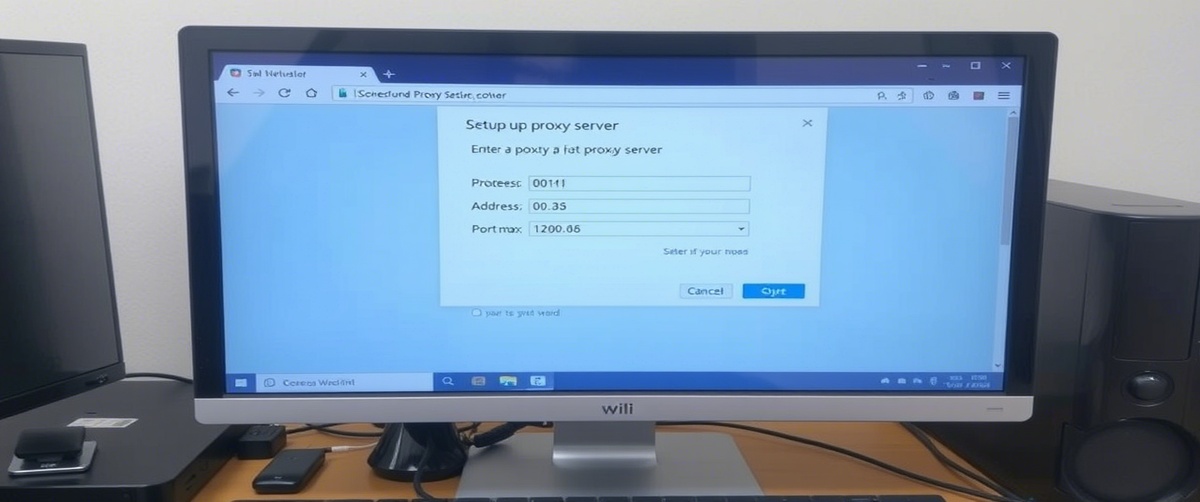
Step 3: Change Your DNS Server
If your current DNS server is not responding, switching to a public DNS like Google DNS or Cloudflare DNS can help.
For Windows:
- Open Control Panel > Network and Internet > Network Connections.
- Right-click on your active network and select Properties.
- Select Internet Protocol Version 4 (TCP/IPv4) and click Properties.
- Click Use the following DNS server addresses and enter:
- Preferred DNS: 8.8.8.8 (Google)
- Alternate DNS: 8.8.4.4 (Google)
For Mac:
- Go to System Preferences > Network.
- Select your network connection and click Advanced.
- Navigate to the DNS tab and add the following DNS servers:
- 8.8.8.8
- 8.8.4.4
This can resolve name resolution problems caused by an unresponsive DNS server.
Step 4: Disable Firewall and Antivirus Temporarily
Sometimes, security software may block DNS requests. To check:
- Windows Users: Temporarily disable Windows Defender Firewall under Control Panel > System and Security > Windows Defender Firewall.
- Mac Users: Go to System Preferences > Security & Privacy > Firewall and turn it off temporarily.
After disabling, check if your DNS issue is resolved. If so, add an exception for DNS traffic in your security software.
Step 5: Reset Network Settings
If the DNS server not responding error persists, resetting your network settings can help.
For Windows:
- Open Command Prompt as Administrator.
Type the following commands one by one, pressing Enter after each:
pgsql
CopyEdit
netsh int ip reset
netsh winsock reset
ipconfig /release
ipconfig /renew
ipconfig /flushdns
- Restart your computer.
For Mac:
- Go to System Preferences > Network.
- Select your network connection and click Advanced.
- Under the TCP/IP tab, click Renew DHCP Lease.
This restores your default network settings and fixes most DNS issues.
Step 6: Contact Your ISP
If none of the above methods work, your ISP might be experiencing DNS issues. You can:
- Check your ISP’s website or social media for outage reports.
- Call your ISP’s customer service to verify if they have a name resolution problem.
- Ask if they can provide alternative DNS servers.
Get Professional IT Support for Seamless Network Performance